Refabricating a Damaged Engine Hoist Arm
This project is a recap of one of the first equipment repairs I took on early in my welding journey. It involved refabricating the main arm of an engine hoist at a local mechanic’s garage—a job that turned out to be more involved than I initially expected.
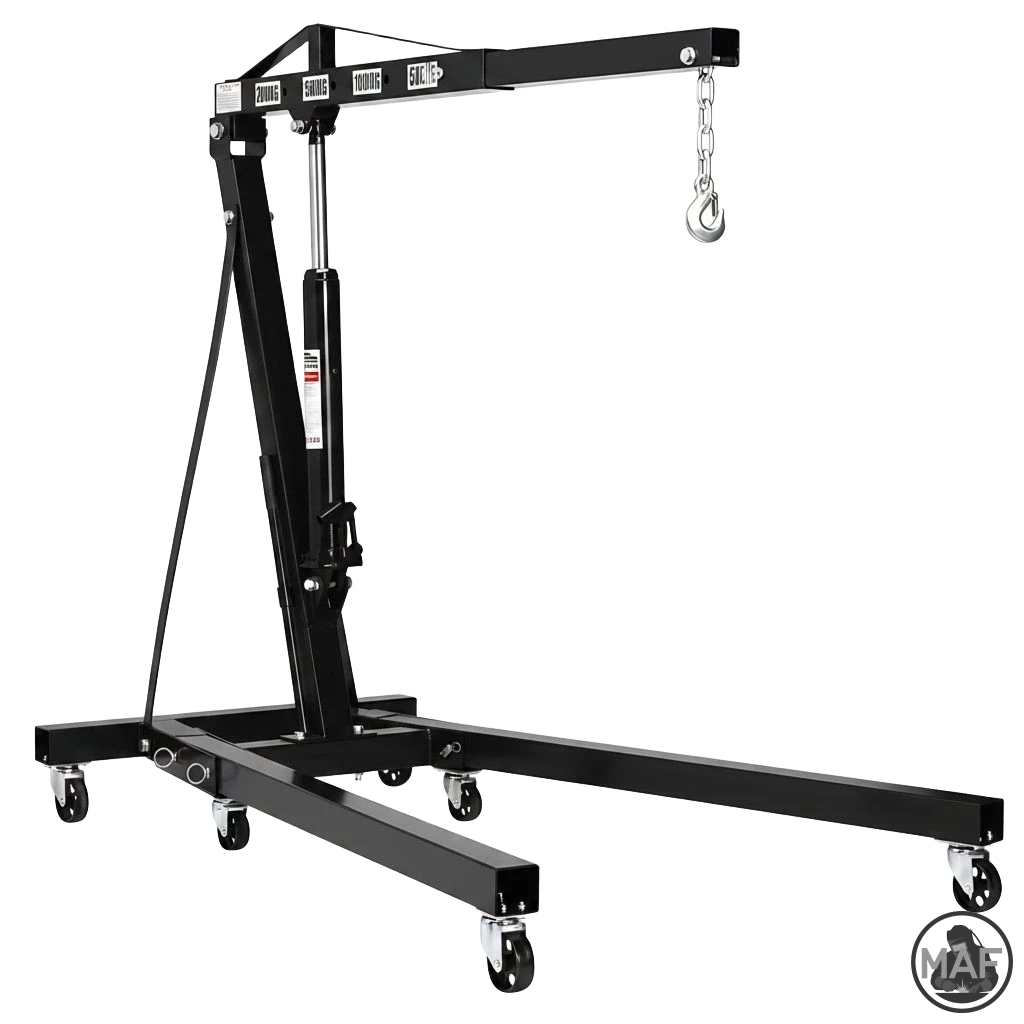
Interestingly, this type of repair wasn’t something I came across often at the time. The hoist had suffered significant damage: the main arm had bowed badly, clearly compromising its structural integrity. From what I could tell, the issue likely came down to improper use. The crane was rated to lift 2 tonnes at its shortest length and 750 kg when fully extended, and given the type of work carried out in the garage, it’s unlikely it should have been pushed beyond around 1.5 tonnes. Still, misuse over time had taken its toll.
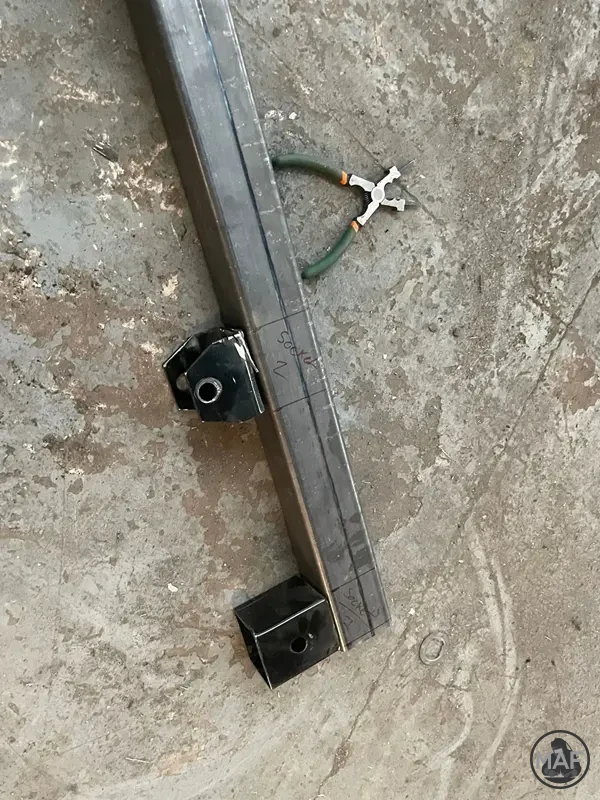
The first step was to fully disassemble the hoist, removing the arm from its M16 bolt brackets and plates so I could properly assess the damage and plan the rebuild. While doing this, I noticed something else: the M16 bolts themselves had actually bent, again pointing to overloading or poor handling.
To improve the strength and reliability of the repair, I decided to upgrade these to M20 bolts, giving that connection a much higher load capacity.
Next came creating a cut list and removing the damaged section of the arm. This proved to be one of the trickiest parts of the job. The worst of the bend sat directly over one of the brackets, which made access awkward.
Using an angle grinder, I had to carefully cut away the material in smaller sections to avoid damaging the bracket beneath. It was a slow, methodical process, but necessary to preserve as much of the original structure as possible.
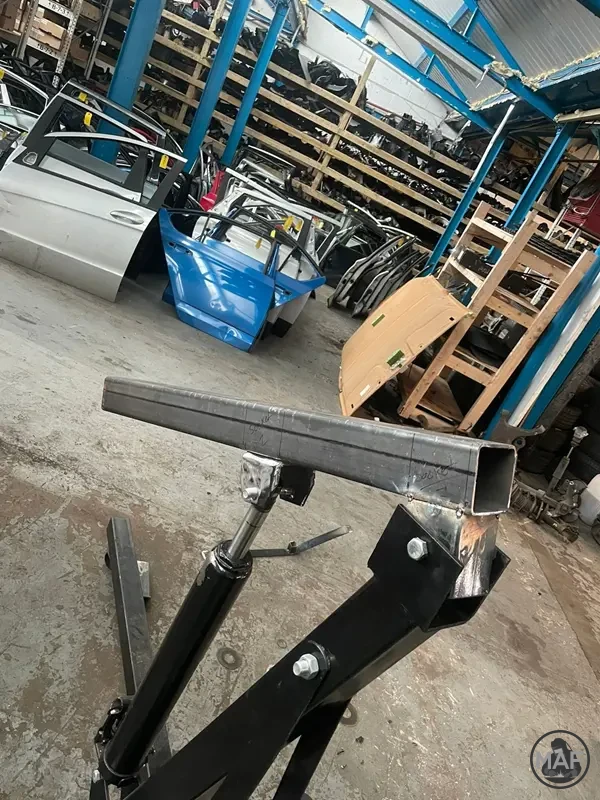
With the damaged section removed, I moved on to fitting the new box section. I squared up the brackets using a steel square and held everything in place with a welding magnet to keep alignment tight.
Once I was happy with the positioning, I tacked the corners and carried out a test fit back onto the hoist. This step is always worth taking the time on—it’s much easier to correct alignment issues now than after fully welding everything out.
For the final stage, I prepared all the joints by beveling the edges and leaving a small gap (around 1 mm) to ensure good penetration.
The welding process was a multi-pass stick weld:
Root pass: 6011 electrode for solid penetration
Fill passes: 7018 for strength and ductility
Cap pass: 7018 again for a clean, strong finish
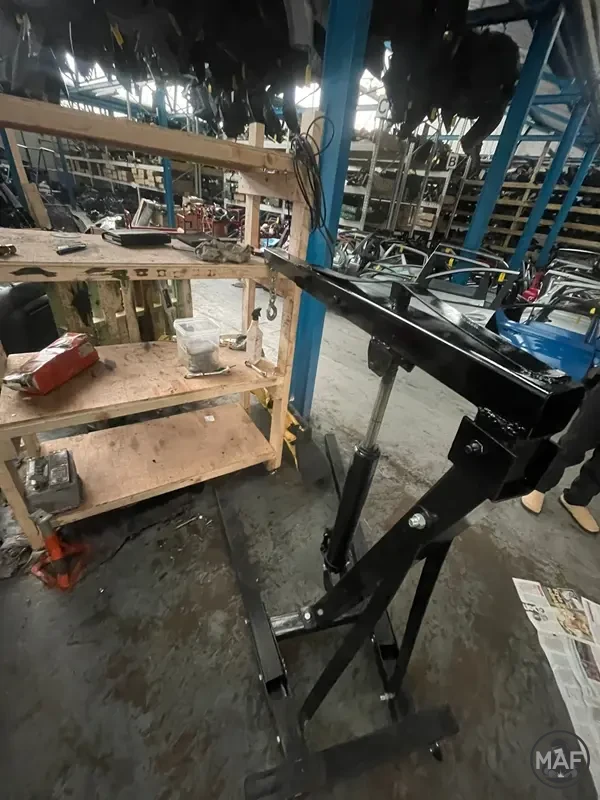
Once welding was complete, I cleaned everything up, painted the new section, and reassembled the hoist using the upgraded M20 bolts.
This was a great early project that taught me a lot—not just about welding techniques, but about problem-solving and working around real-world damage. Repairs like this aren’t always straightforward, and often require adapting your approach as you go.
Looking back, it was a solid reminder of how important proper use and load limits are for equipment like this—and how a well-executed repair can give it a new lease of life.
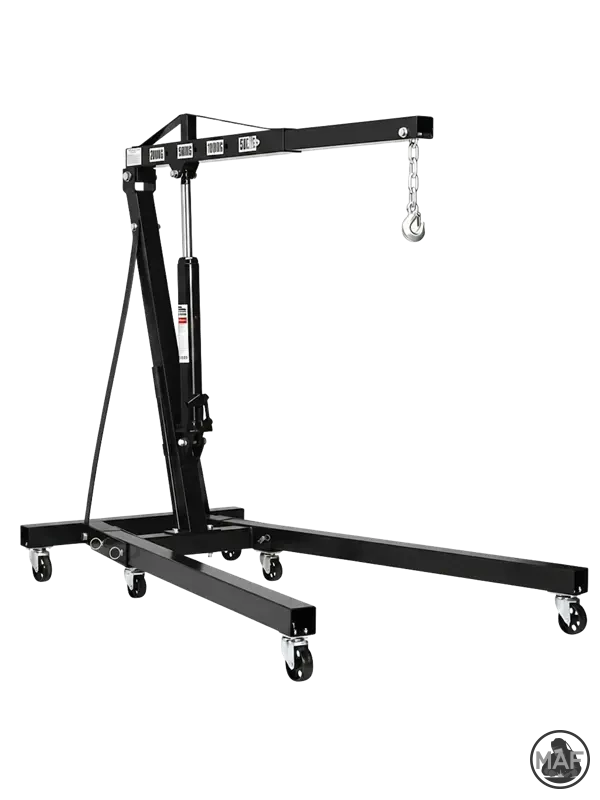

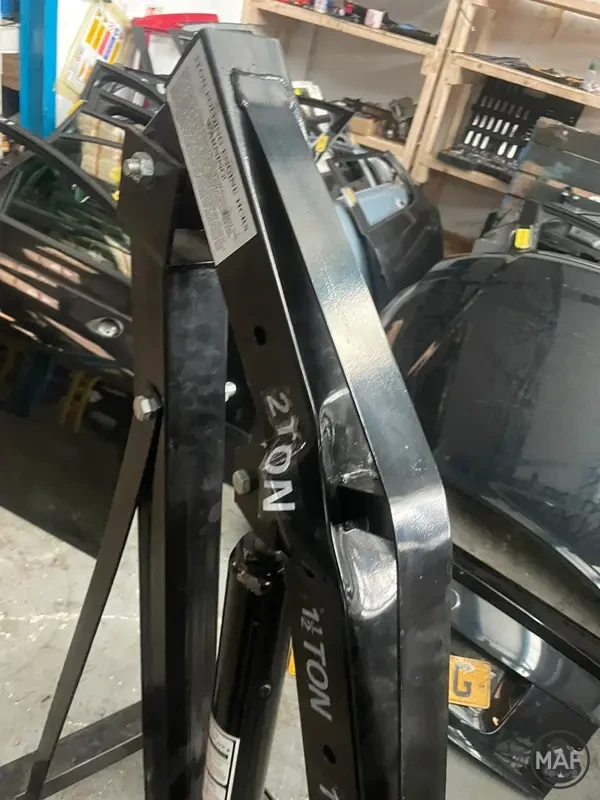
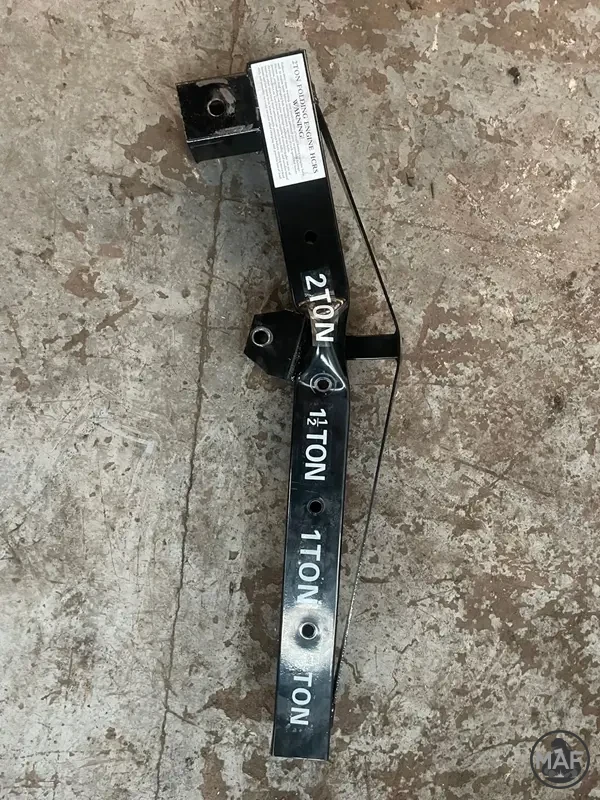

Interestingly, this type of repair wasn’t something I came across often at the time. The hoist had suffered significant damage: the main arm had bowed badly, clearly compromising its structural integrity. From what I could tell, the issue likely came down to improper use. The crane was rated to lift 2 tonnes at its shortest length and 750 kg when fully extended, and given the type of work carried out in the garage, it’s unlikely it should have been pushed beyond around 1.5 tonnes. Still, misuse over time had taken its toll.
Stripping Down and Assessing the Damage
The first step was to fully disassemble the hoist, removing the arm from its M16 bolt brackets and plates so I could properly assess the damage and plan the rebuild. While doing this, I noticed something else: the M16 bolts themselves had actually bent, again pointing to overloading or poor handling.
To improve the strength and reliability of the repair, I decided to upgrade these to M20 bolts, giving that connection a much higher load capacity.
Cutting Out the Damaged Section
Next came creating a cut list and removing the damaged section of the arm. This proved to be one of the trickiest parts of the job. The worst of the bend sat directly over one of the brackets, which made access awkward.
Using an angle grinder, I had to carefully cut away the material in smaller sections to avoid damaging the bracket beneath. It was a slow, methodical process, but necessary to preserve as much of the original structure as possible.
Reassembly and Test Fit
With the damaged section removed, I moved on to fitting the new box section. I squared up the brackets using a steel square and held everything in place with a welding magnet to keep alignment tight.
Once I was happy with the positioning, I tacked the corners and carried out a test fit back onto the hoist. This step is always worth taking the time on—it’s much easier to correct alignment issues now than after fully welding everything out.
Welding and Final Assembly
For the final stage, I prepared all the joints by beveling the edges and leaving a small gap (around 1 mm) to ensure good penetration.
The welding process was a multi-pass stick weld:
Root pass: 6011 electrode for solid penetration
Fill passes: 7018 for strength and ductility
Cap pass: 7018 again for a clean, strong finish
Once welding was complete, I cleaned everything up, painted the new section, and reassembled the hoist using the upgraded M20 bolts.
Final Thoughts
This was a great early project that taught me a lot—not just about welding techniques, but about problem-solving and working around real-world damage. Repairs like this aren’t always straightforward, and often require adapting your approach as you go.
Looking back, it was a solid reminder of how important proper use and load limits are for equipment like this—and how a well-executed repair can give it a new lease of life.
New
New
Damaged
Arm Removed
Line-up
Line-up tack
Welded
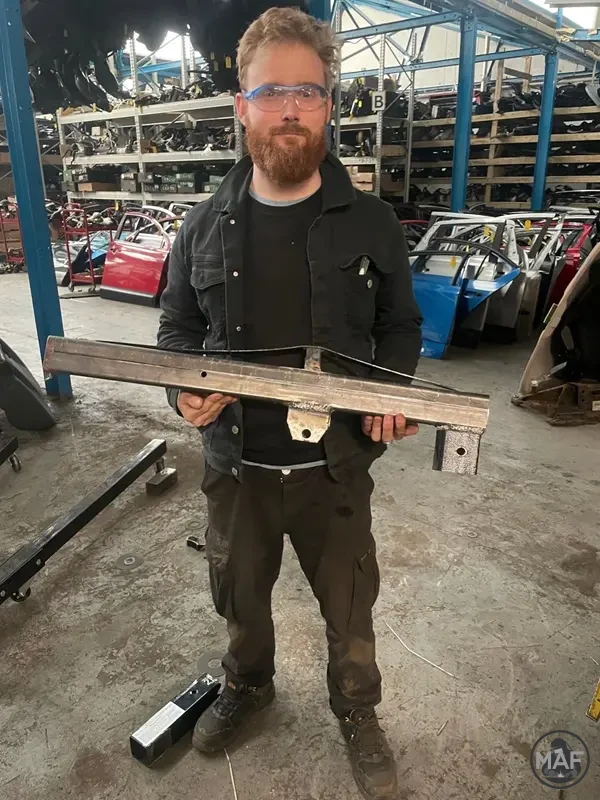
Just me
Finished
Last updated: 20 Apr 2026